
Sunday 28 July 2013


Friday 12 April 2013
Sunday 24 March 2013


Friday 22 March 2013
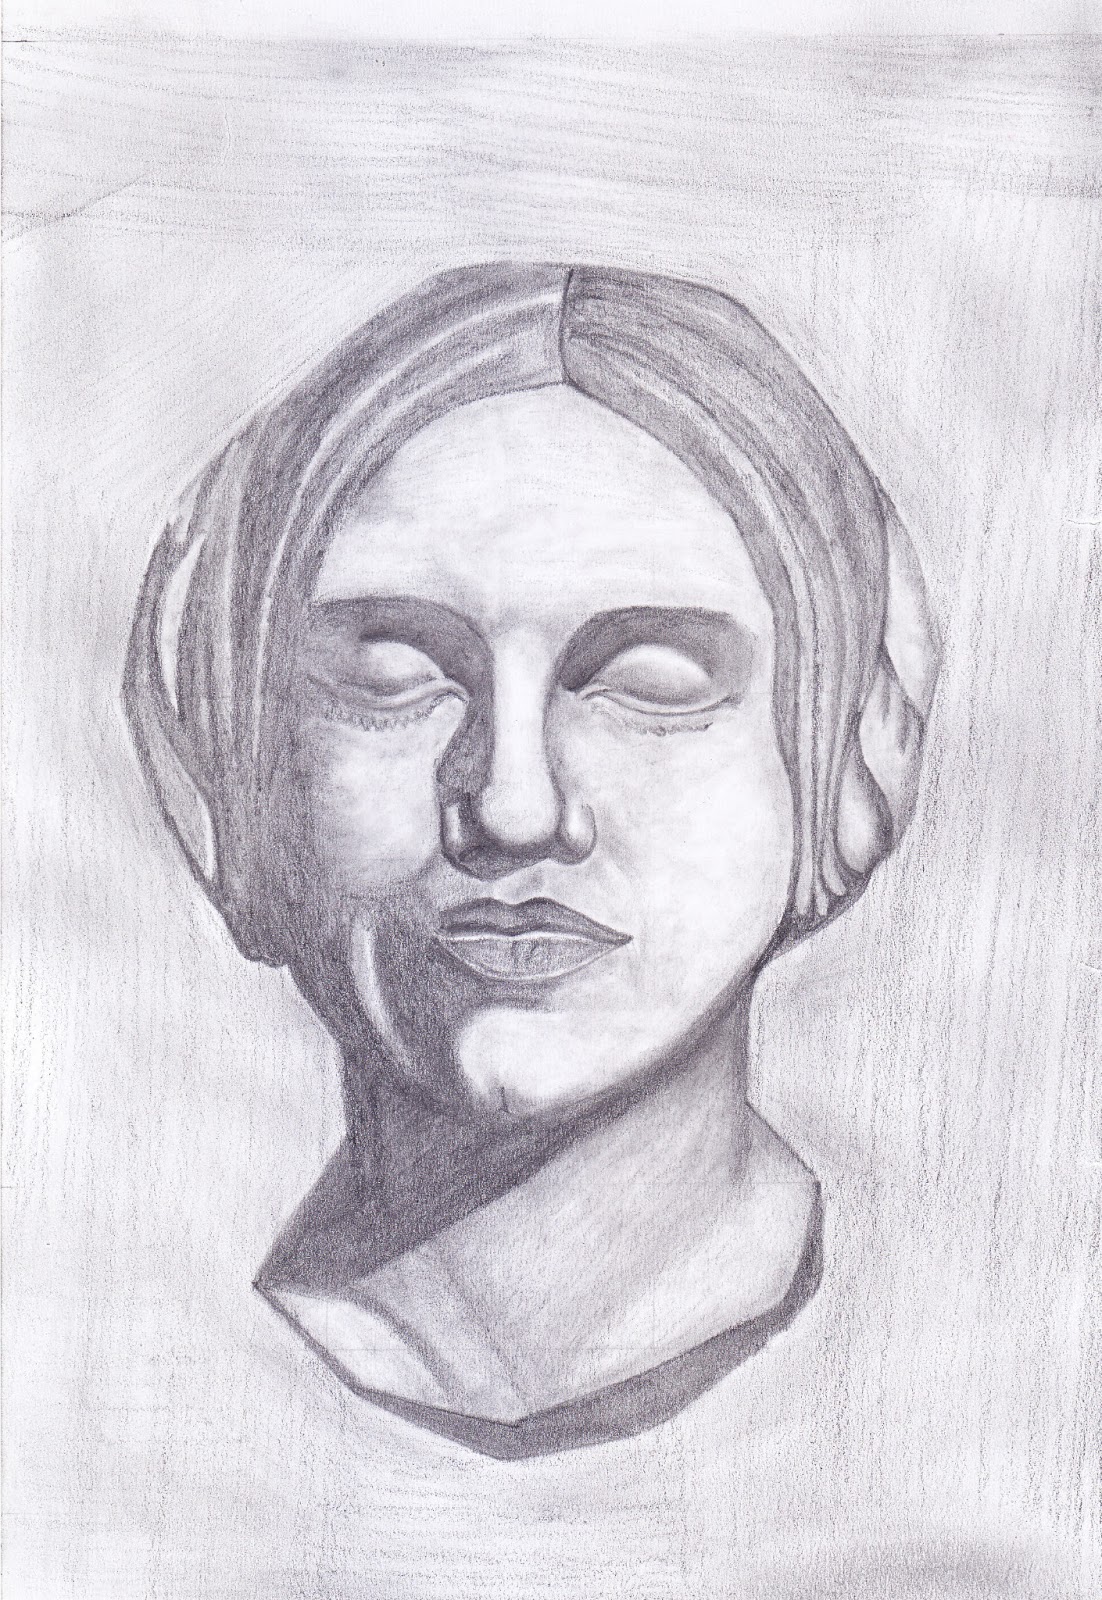
Clairaudience Evolution Realistic Portrait Drawing


Today we are going to learn how the portrait of Clairaudience evolution is drawn by the great pencil artists, kelvin okafor. Its a perfect line drawing of the reference picture. You may have so many ways to convert a photo into a line drawing using photoshop, grid method, tracing and so on. Here kelvin shows his mastery talent of free hand drawing to render the exact sketch of reference photograph. This can be attainable when you put a regular 2 hours of practice only for sketching.

Normally kelvin okafor starts from eyes, but in this case due to the heavy hairs, he may change the actual process of drawing style. His style is unique and I have never seen any where, because no on is ready to show the milestone steps from the beginning to end, where as kelvin, he pour all the photographs he has taken while drawing.
First he gently applied the pencil to cover in this area, this pencil gives the texture effect for the particular portion of the hair. I have personally tested to achieve this level by using 8B wooden pencil, but according to me, you can use any pencil you want, such as graphite pencil, charcoal, EE pencil, Progresso pencil and so on. Each pencil has its own result. But the process of attaining the realism is same.
First he gently applied the pencil to cover in this area, this pencil gives the texture effect for the particular portion of the hair. I have personally tested to achieve this level by using 8B wooden pencil, but according to me, you can use any pencil you want, such as graphite pencil, charcoal, EE pencil, Progresso pencil and so on. Each pencil has its own result. But the process of attaining the realism is same.

Once you complete the portion, take a stumping stick or ear cleaning buds, and smoothly smudge the area where you have applied the dark in the previous step. Comparatively, ear cleaning bud is better than stump stick, because the roughness of buds make the work easier.

At first glance, the above realistic hair, looks difficult to attain, but with a proper idea on how the hair's stalk should be appeared with clump of hairs. There is no tricky job to attain this result, so take your kneaded erazar or electrical eraser simply draw the hair lines as like you draw it in a pencil, on the dark area where you have smudged earlier.
Once you complete drawing the hair lines on the dark area by erazar, that particular area would be mixed with white and black hair, then you can give depth in some area where you want to focus the light and shade. Then look what you have done it, surely this can be achievable.


Subscribe to:
Posts (Atom)